Pantry Overhaul

We were blessed with a large walk-in pantry. However, we have never been able to keep anything organized for more than a few days. If something needed stored or placed out of sight, it went in the pantry. This created a large mess. Plus the deep shelves meant that things got lost or couldn’t be easy seen. After years of trying to make the existing metal shelves work by adding bins and extra pieces, we decided that the pantry needed a full overhaul.
Here is the before in various stages of trying to be organized. Yeah, it was a mess!


We decided that we needed to start from scratch. We tore everything out of the pantry including the old built in shelves. Then, we patched and painted the walls. It took us a few days designing the best layout options and sorting through what would items would and wouldn’t be stored in the new pantry .


We built new shelves to custom fit what we wanted to store and maximize space. We even built narrow shelves just to hold can goods so we can see exactly what we have. (See below for more building details.)
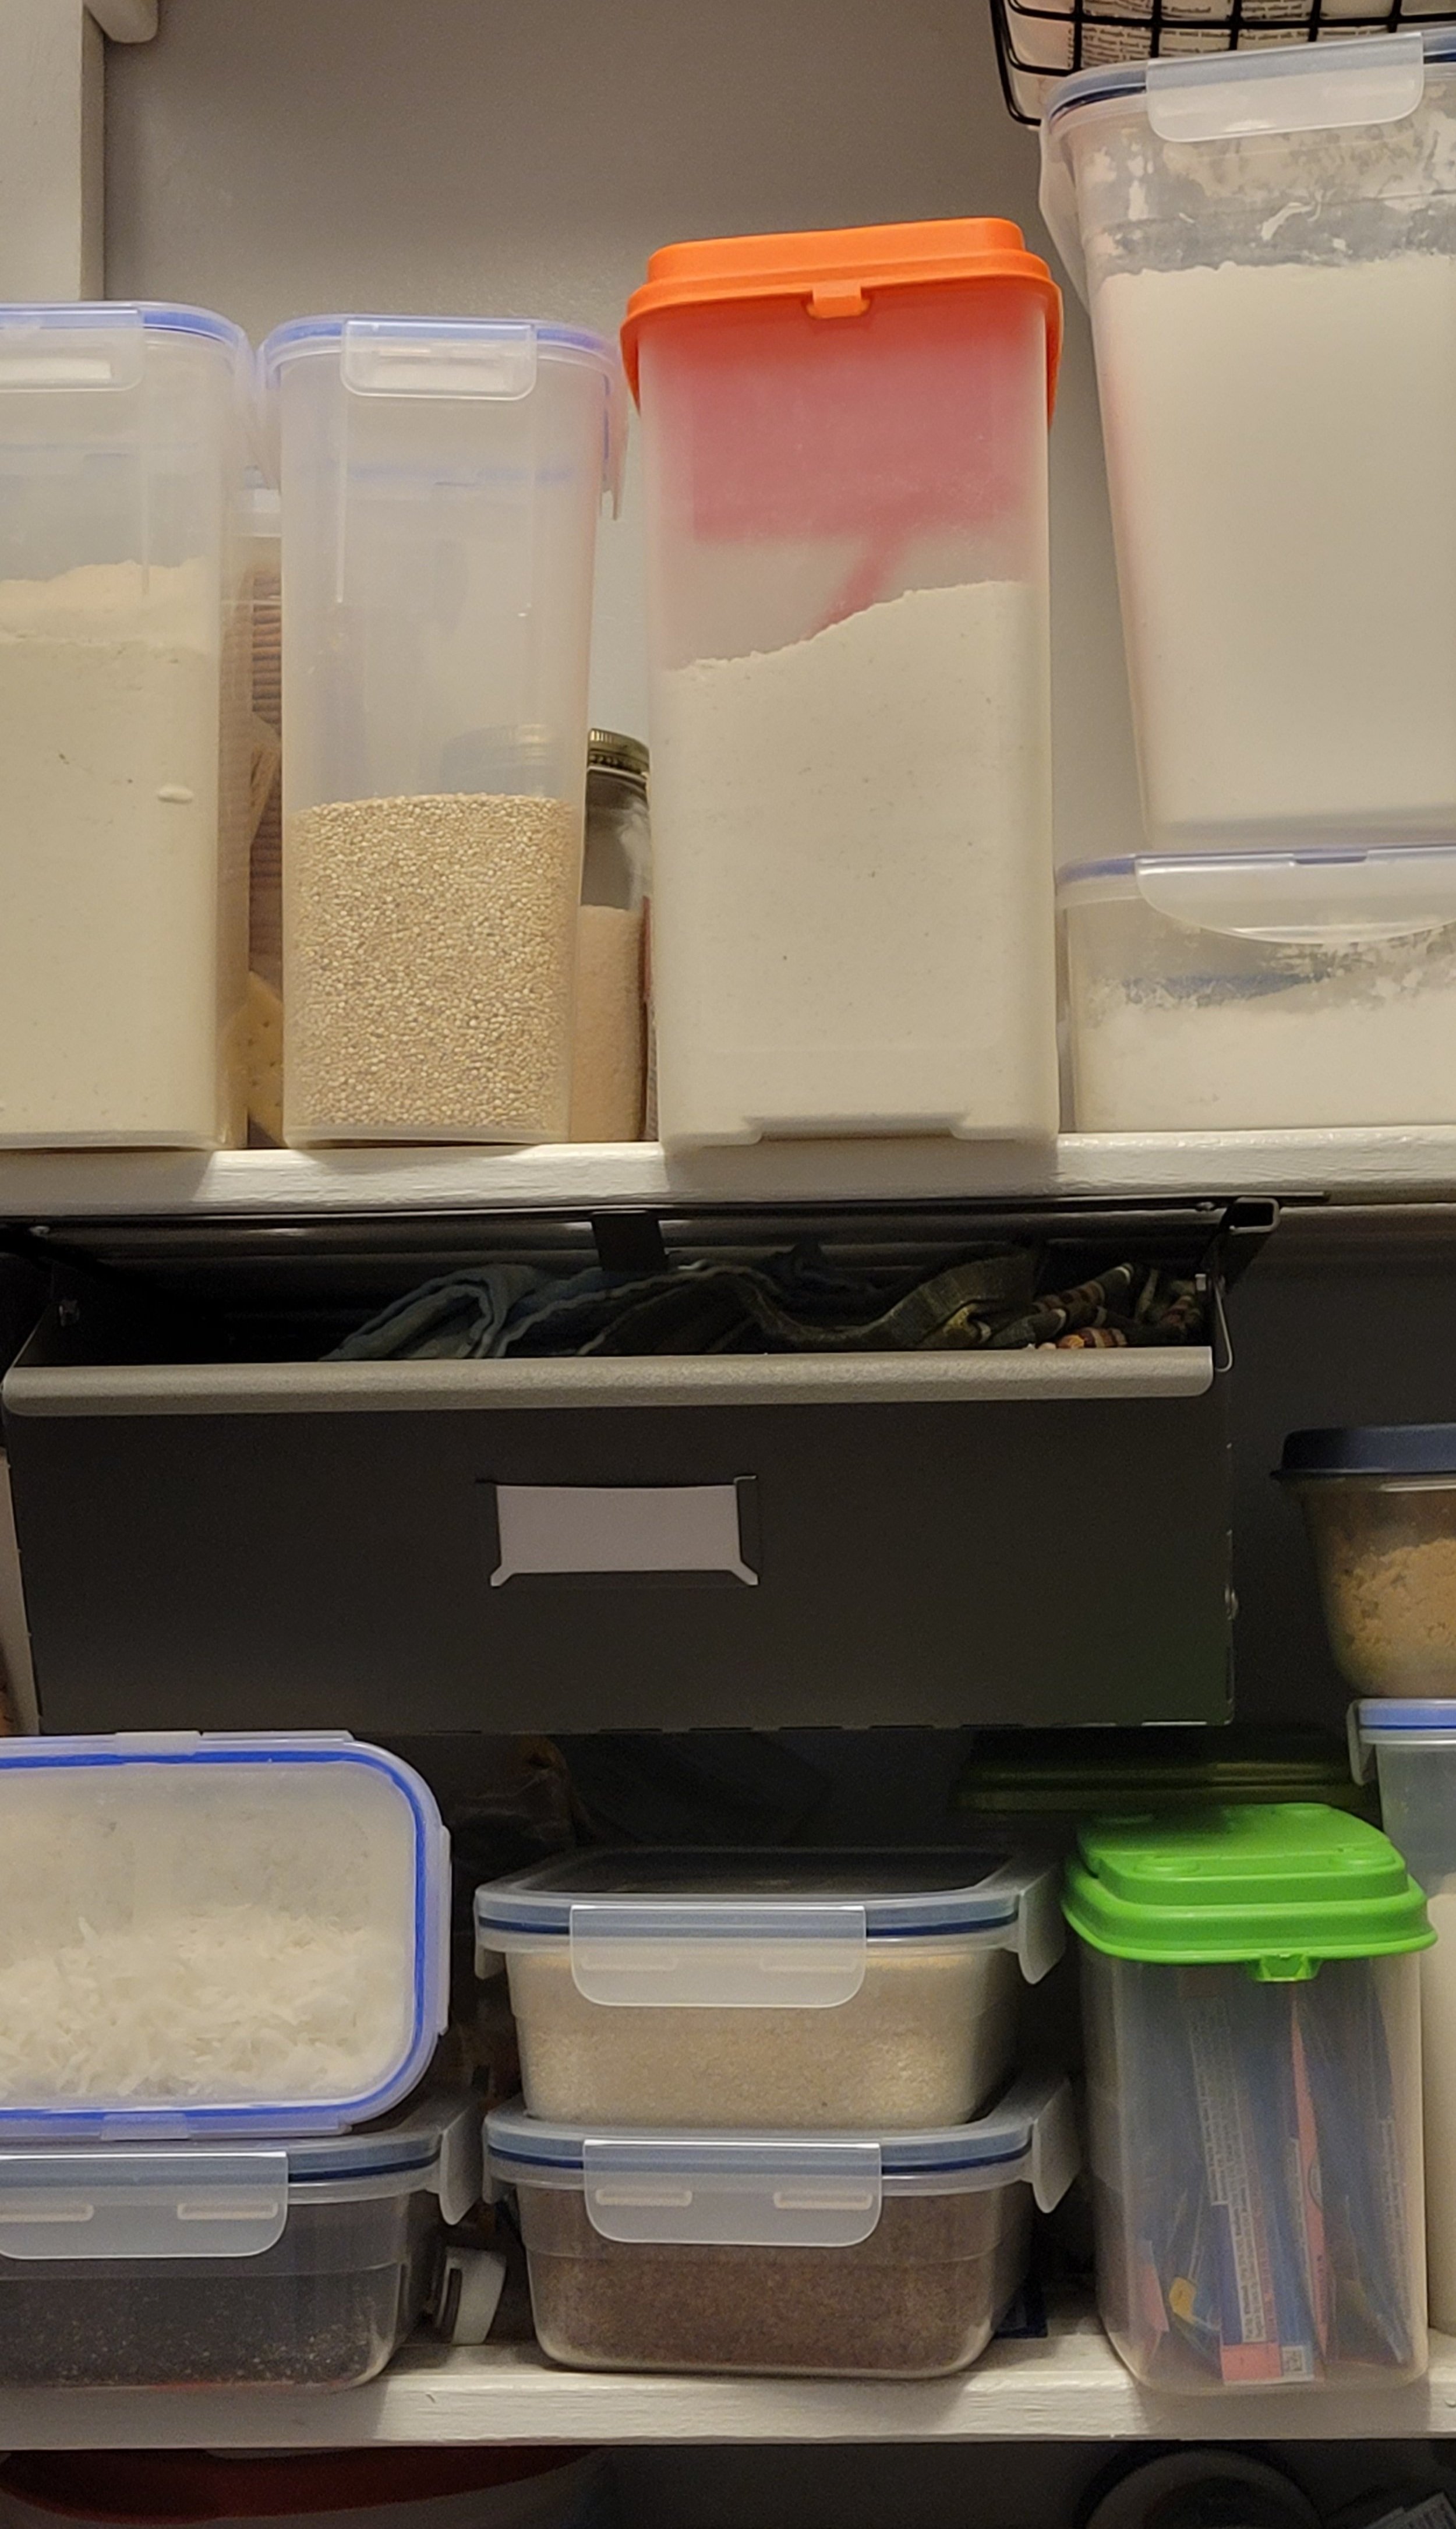

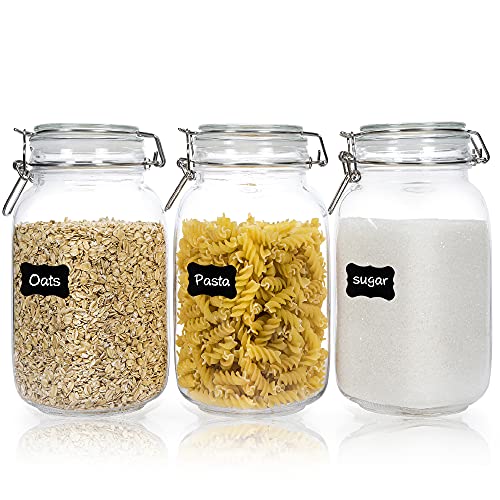
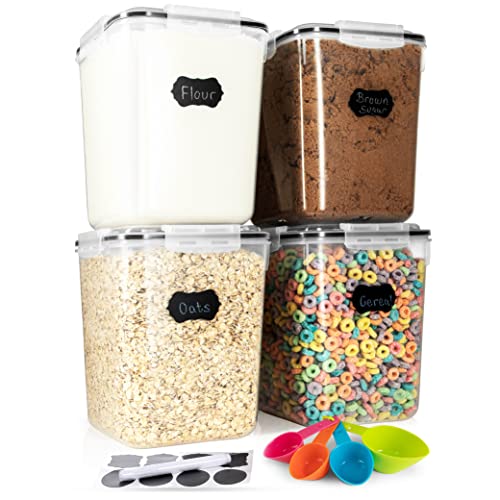
We purchased additional containers to store dry goods and reused glass jars for smaller quantity items. Putting dry goods in see through containers makes it much easier to see what we need to purchase. It also makes it cleaner visually and easier to stack.
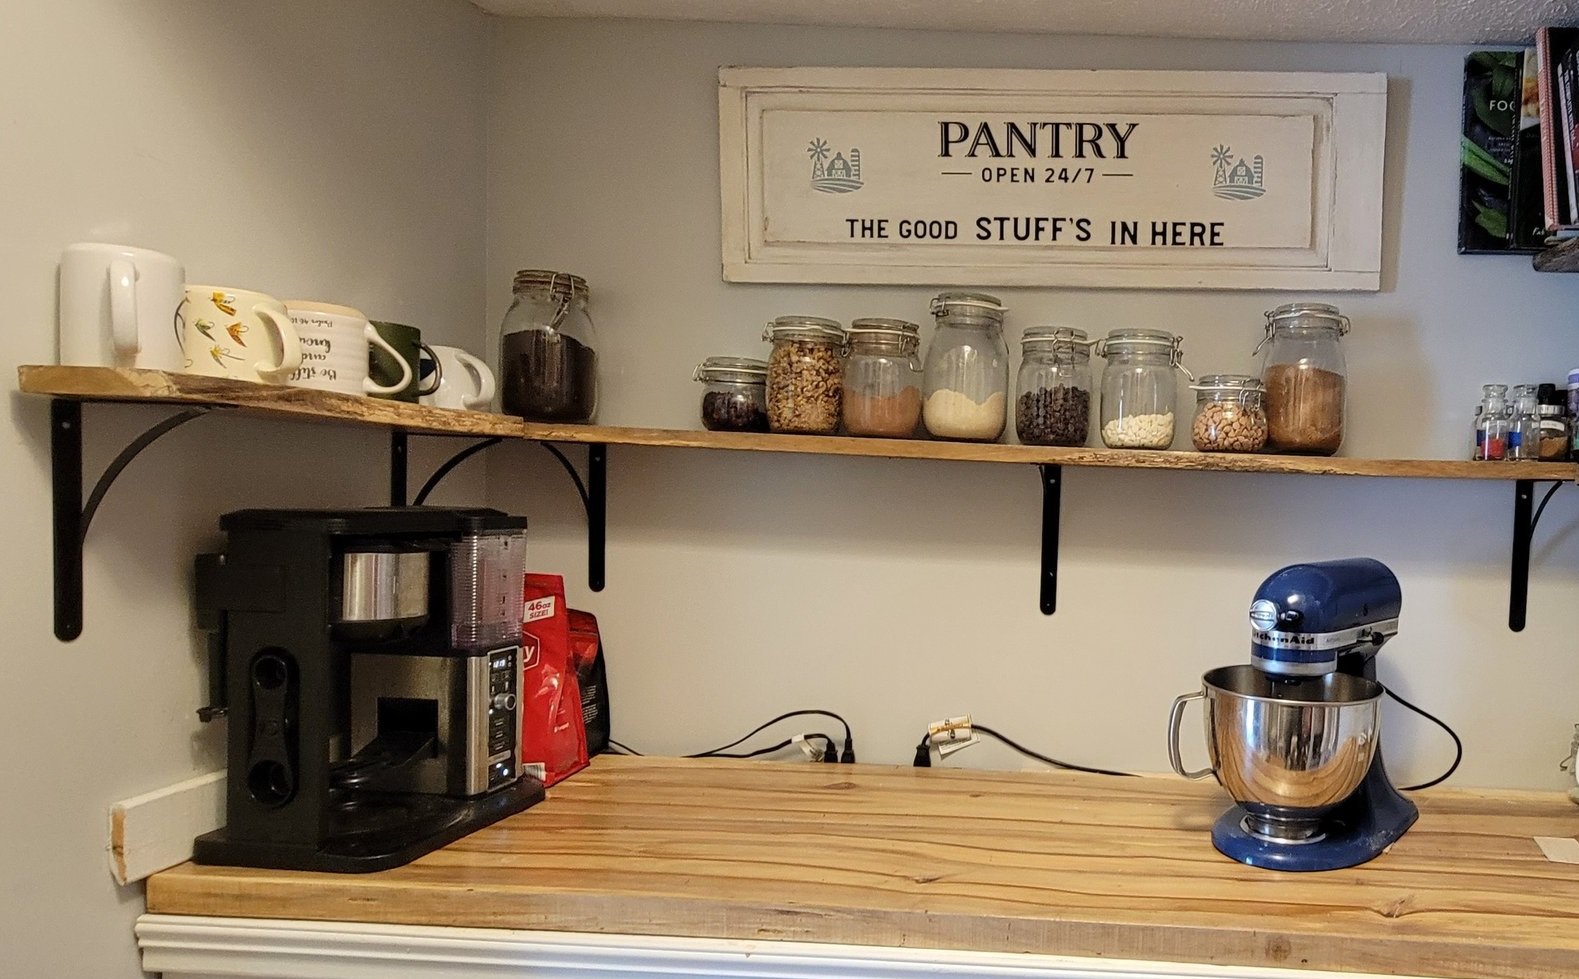
We used some smaller sawmill boards to create extra shelving and found this great sign at a craft fair.
One of the goals was to create more room in our kitchen. We moved the coffee pot and accessories into the new panty along with the Kitchenaid mixer and baking supplies.

Building Details
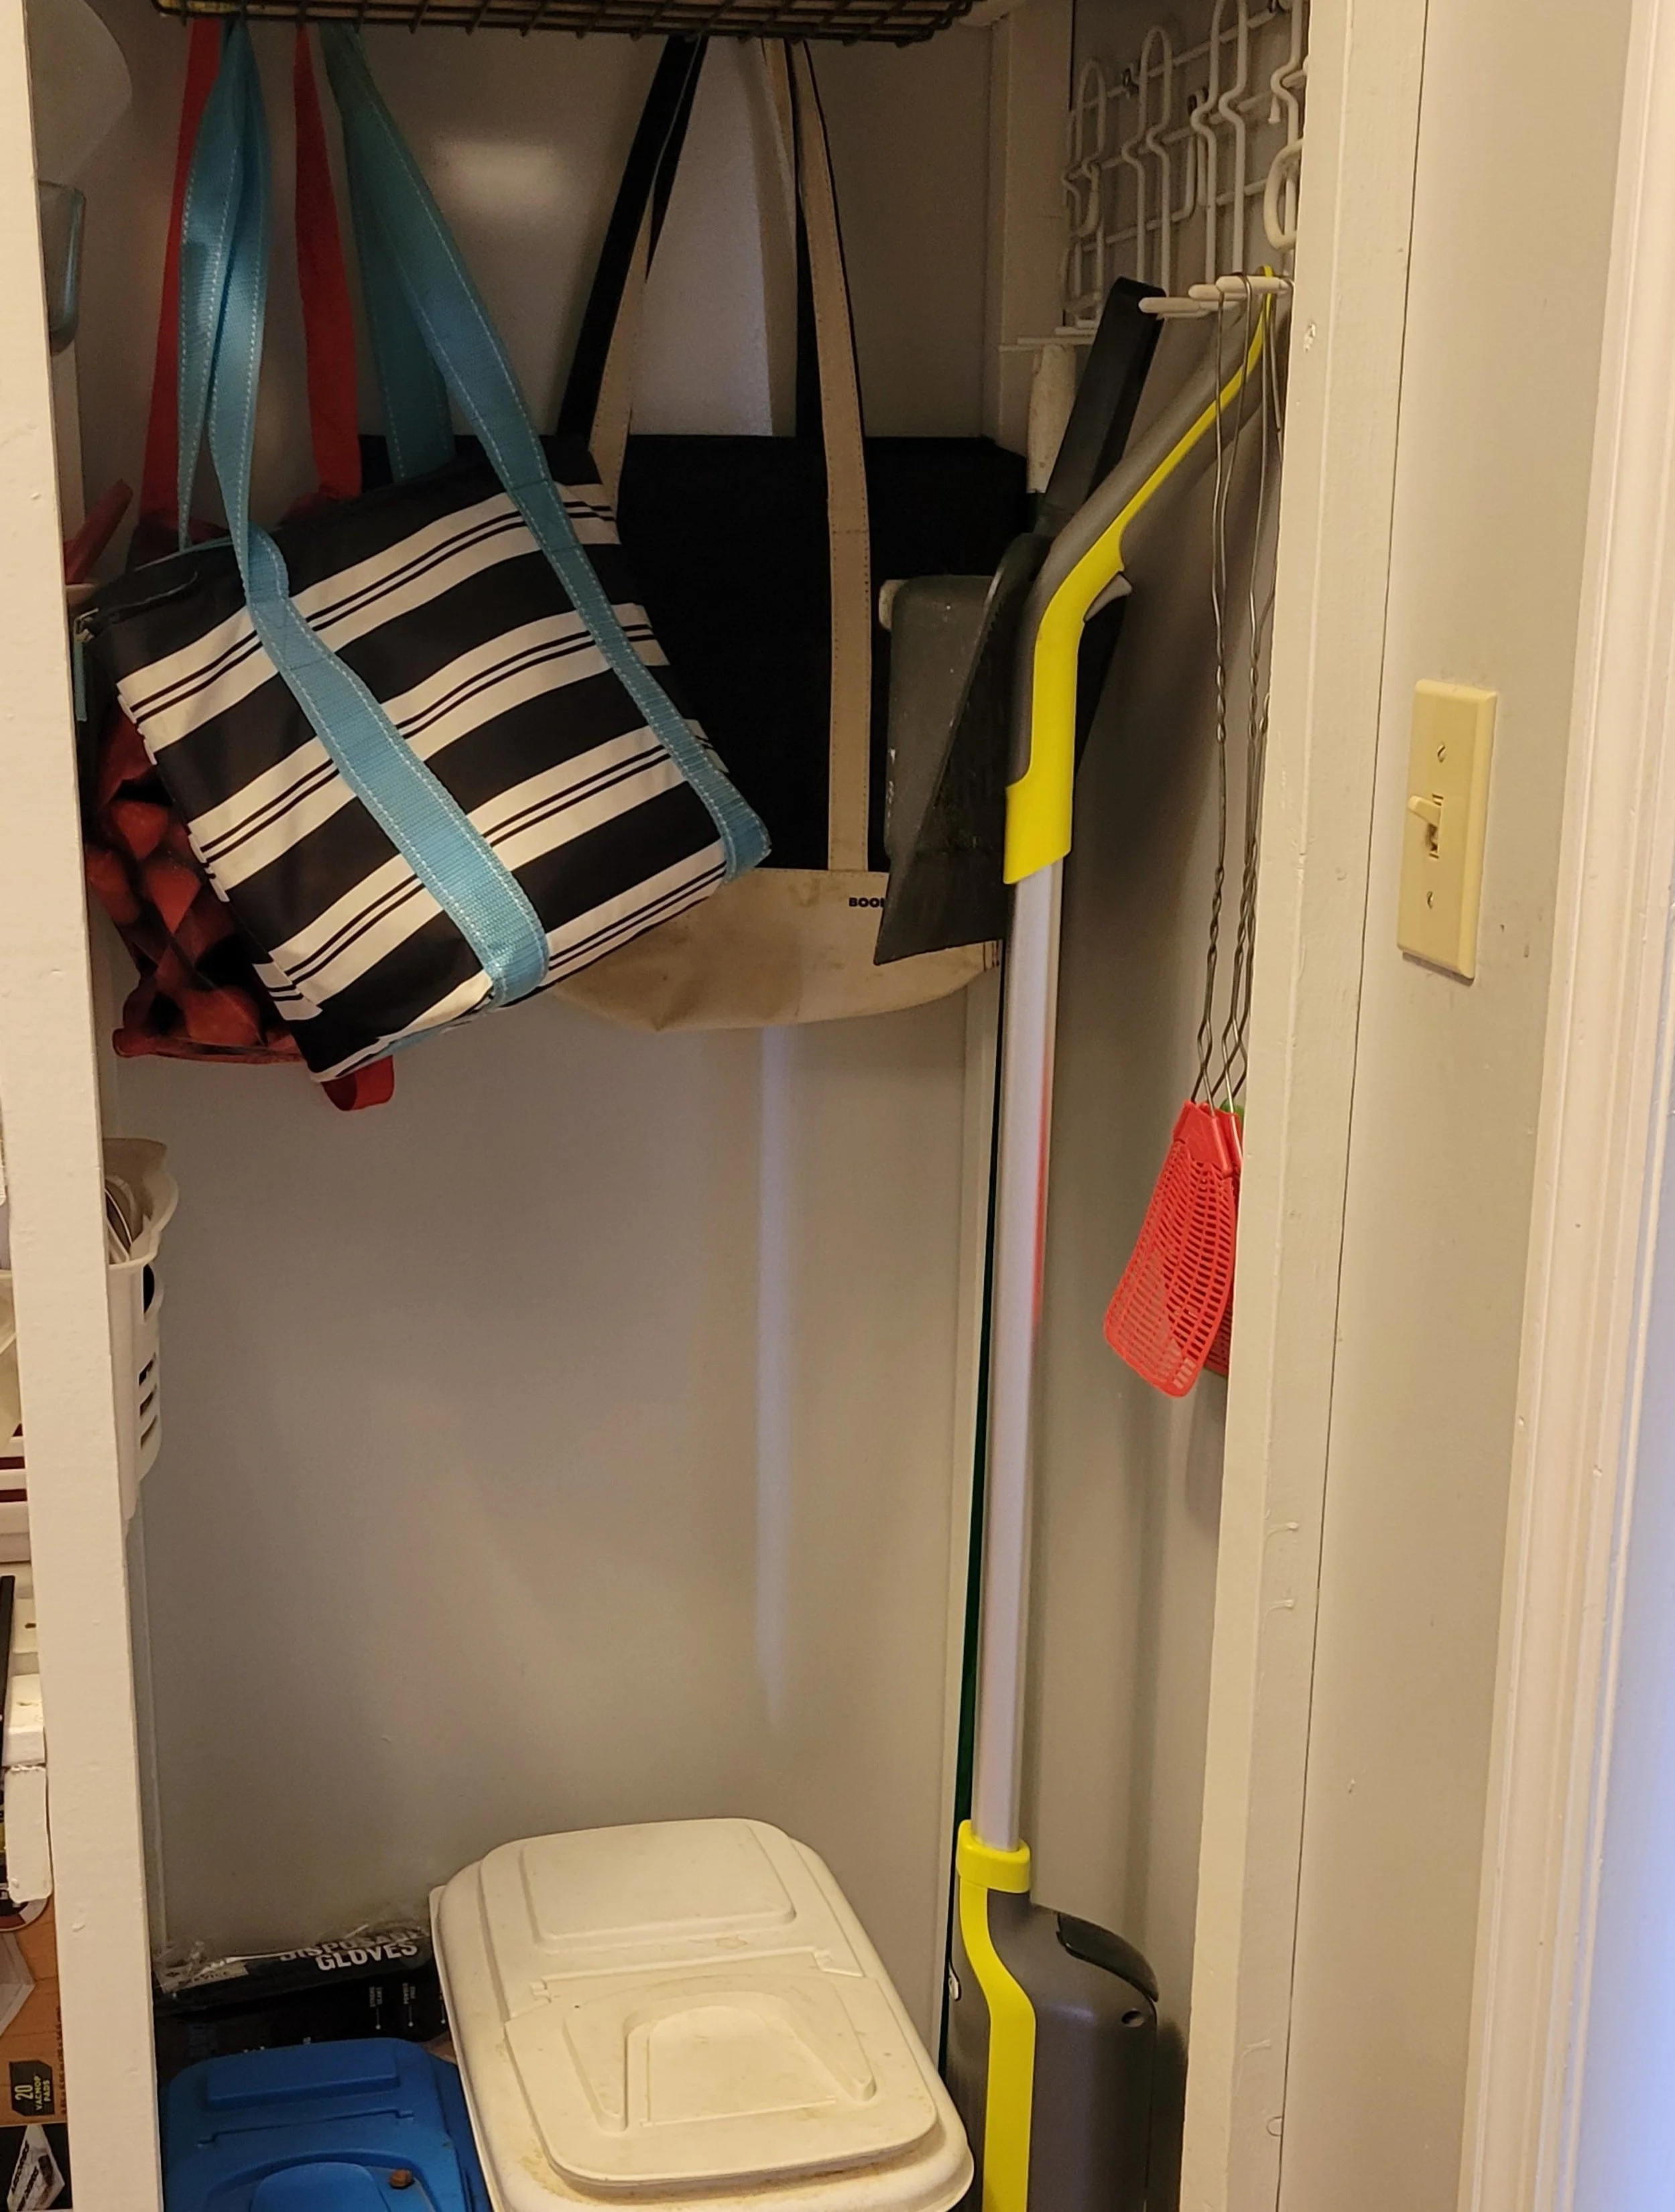
Starting with the right side using 2” x 2” boards for the vertical supports and 1” x 2” furring strips for the shelves, we built floor to ceiling shelves. We measured the appliances, large pots, ice cream maker, and all the things that need stored in the pantry, and then, we built the shelf height and depth to those exact needs. The appliance tower, storage, and broom section was built a little deeper to give us extra room to store items that we don’t use daily but still want to keep. The height between shelves was built to match the exact height needed for the applicates so some are 15” apart and some are only 8”. In addition to appliances and pots, we have food storage containers and cleaning supplies. We also built a cubby for the brooms, mops, coolers bags, as well as the pet food.


We built the shelves in sections to make it easier to assemble once inside the house. Once the sections were built, we painted all them white to give everything a cleaner finish.
Using 1” x 4” furring strips, we built a narrow canning shelf so that we could see all the regular canned goods in a single layer, making it much easier to see what we have in stock. This gave us 8 shelves floor to ceiling.
For the back wall, we we built two sections of shelving that was 12” deep to store dry goods and groceries.
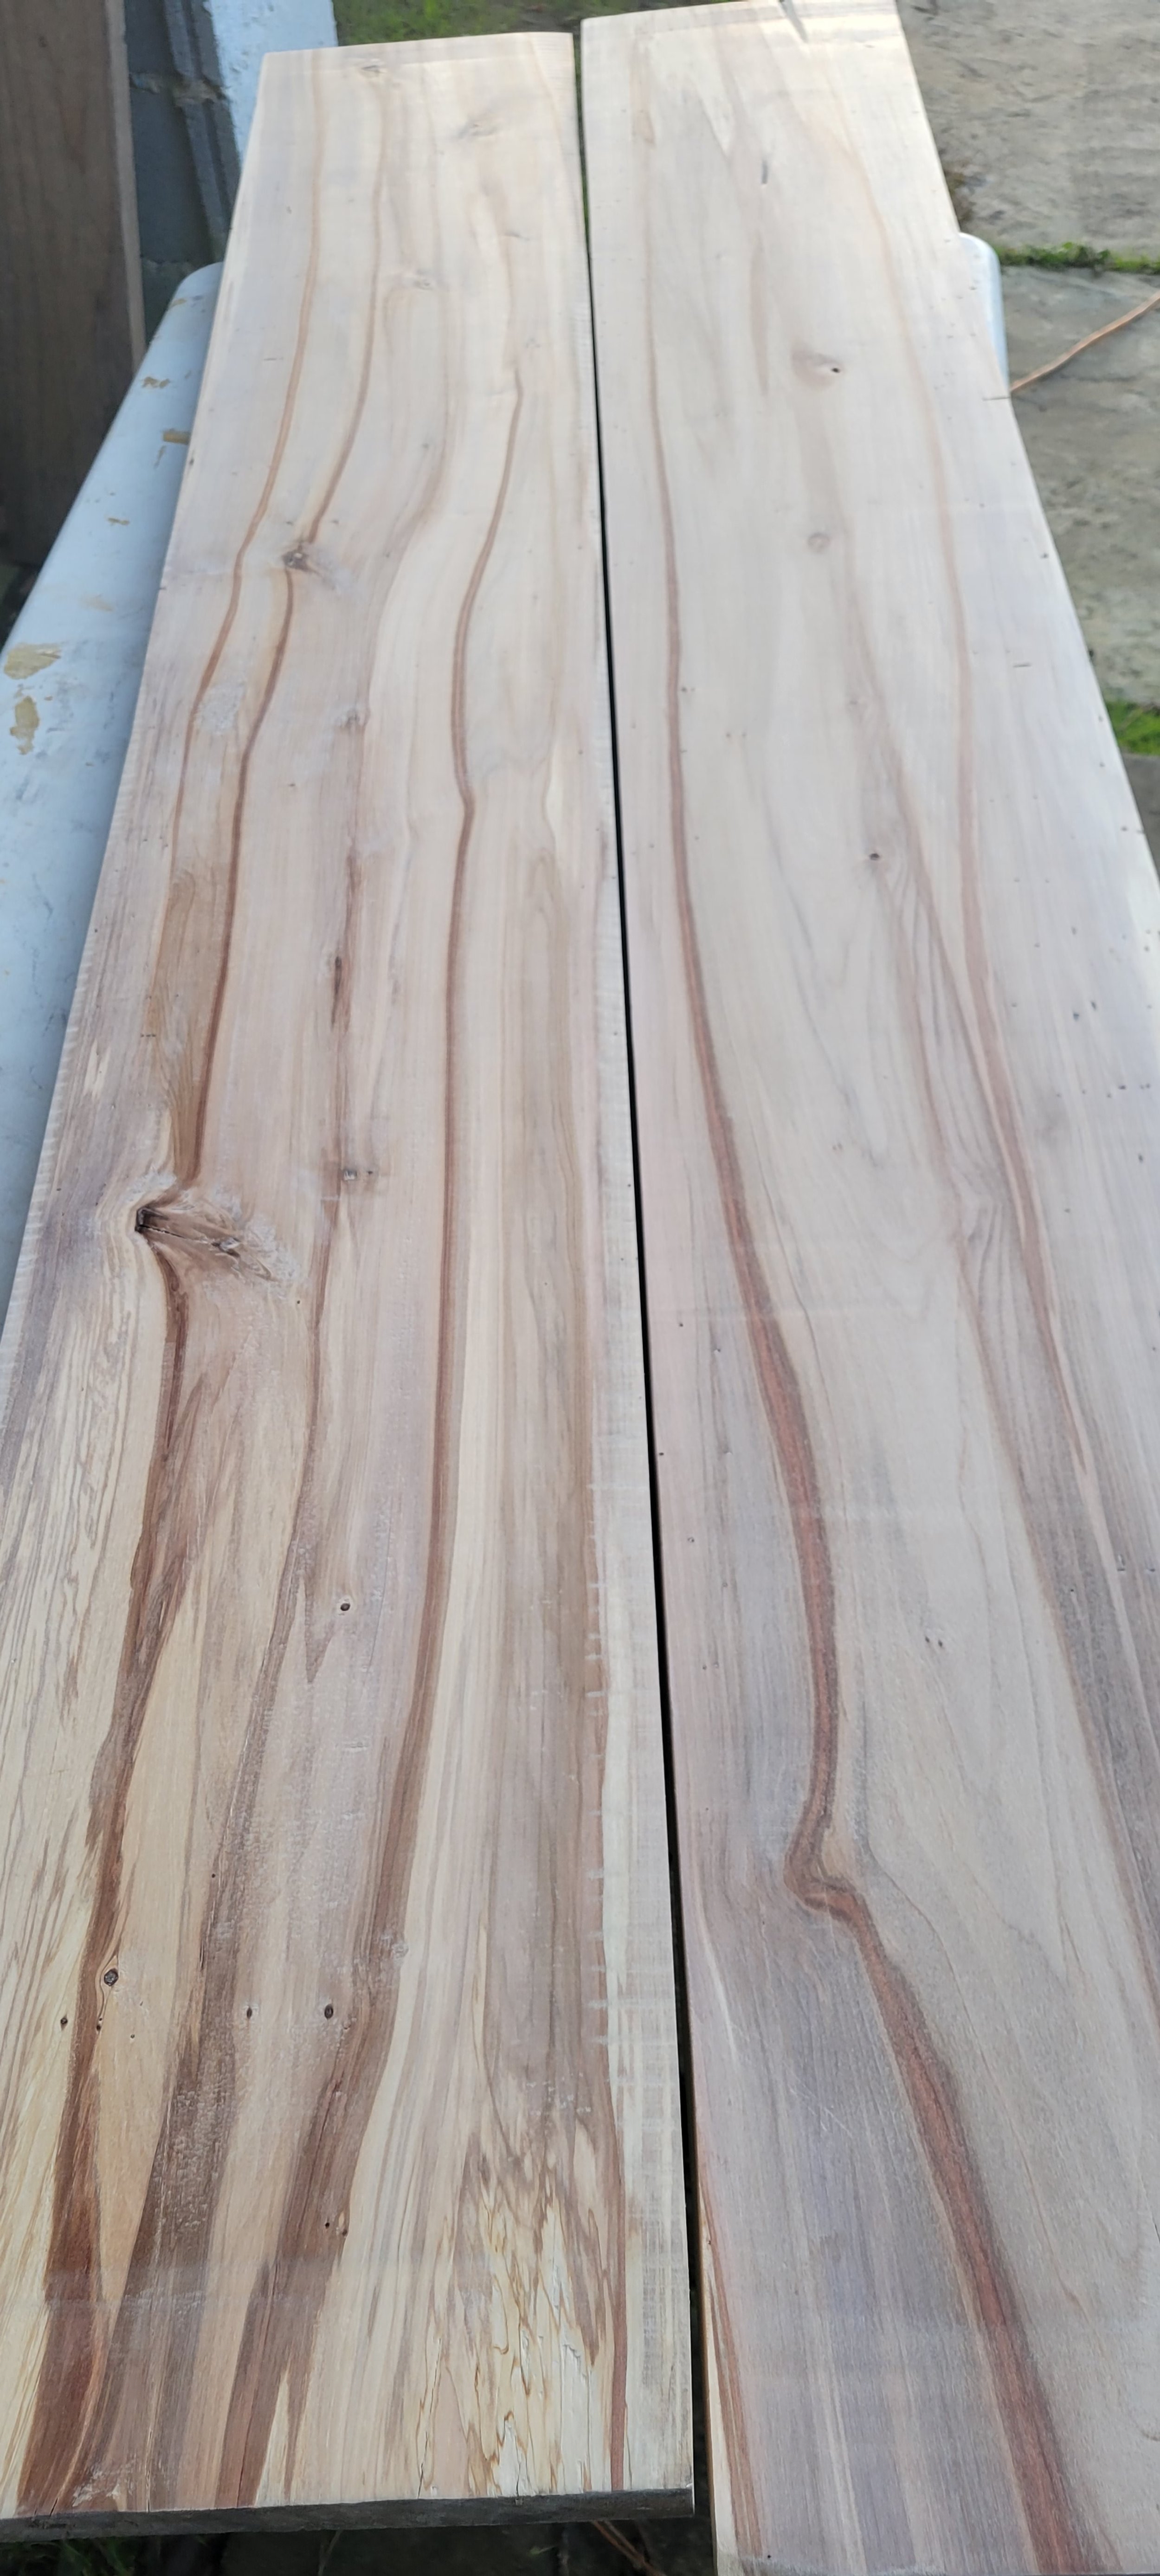
As part of our redesign, we decided to add a countertop with storage to help declutter the kitchen. We originally wanted the countertop against back wall but realized that there were no outlets, so it was moved to the left wall. We had stored a bunch of extra lumber from the sawmill and found some great pieces to create a beautiful custom butcher block countertop.
We started by building a large base with 2” x 4” for the 8 legs and frame and a standard 36” counter height. The width was the exact length of the wall, and the depth matched our countertop boards. We knew that this base was holding a lot of weight so it needed to be sturdy. Then, we added storage shelves under each end for baking supplies.
For the countertop, we took the 2 large rough cut boards that we cut on the sawmill and ran then through the planer and jointer. After some sanding, we had this beautiful butcher block top. We now have a great surface for making cookies or rolling out bread dough.
Using some narrower boards for shelving on the wall above, we store spices and baking supplies and cookbooks, as well as coffee supplies.
We still have to finish trimming out some edges and getting everything into the new storage containers, but the changes is amazing.
SUPPLIES
Disclaimer: This post may contain affiliate links. As an Amazon Associate I earn from qualifying purchases.